The allure of diving into a captivating game world is undeniable. But that immersion can be significantly hindered by a tangled mess of wires. Enter the 2.4 GHz wireless controller gamepad, a marvel of modern technology that grants you cable-free control. However, setting up this wireless freedom might seem daunting at first. Fear not, intrepid gamer! This comprehensive guide will equip you with the knowledge to conquer the 2.4 GHz wireless controller setup process.
Unveiling the Essentials: Before You Begin
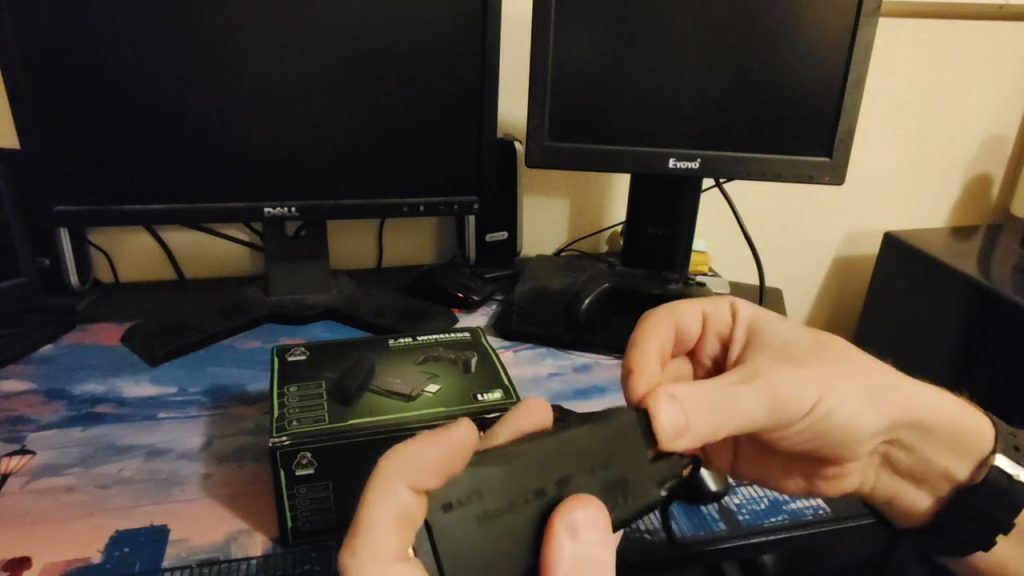
Before embarking on your wireless adventure, it’s crucial to gather the necessary components. Here’s a checklist to ensure a smooth setup:
-
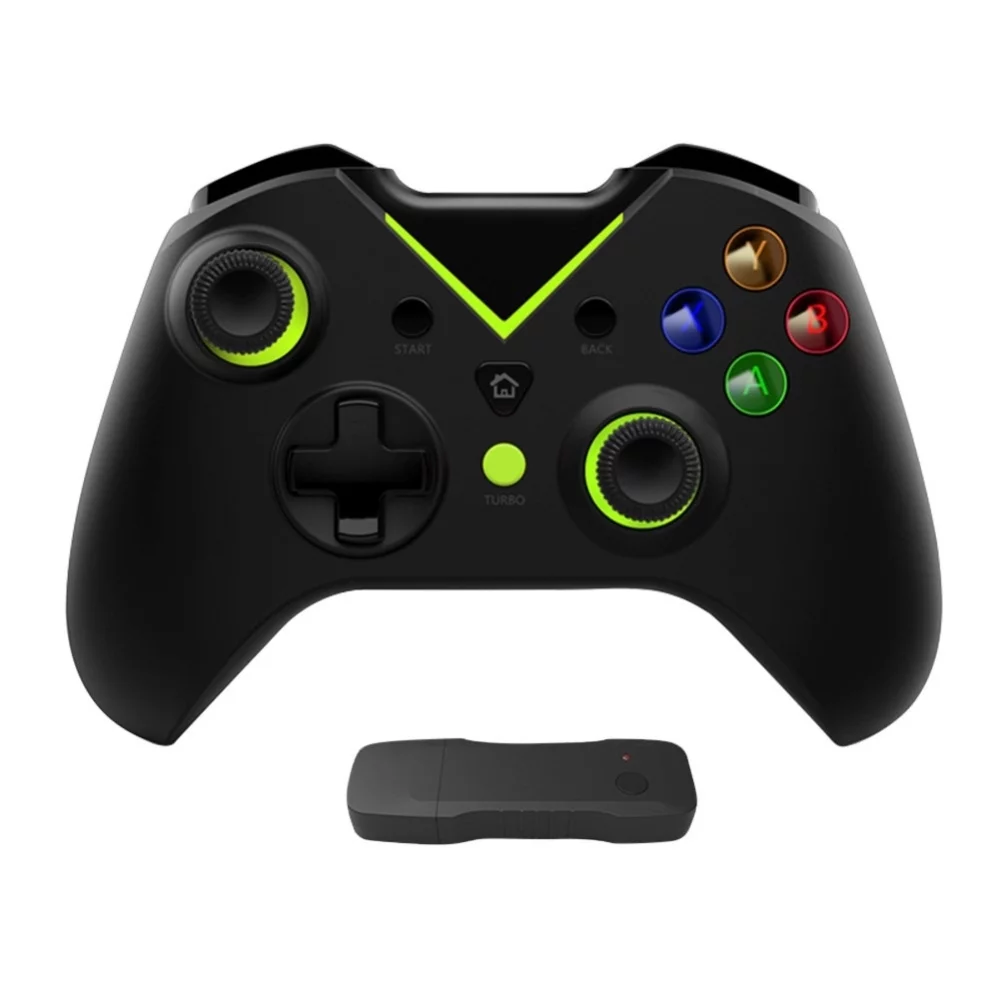
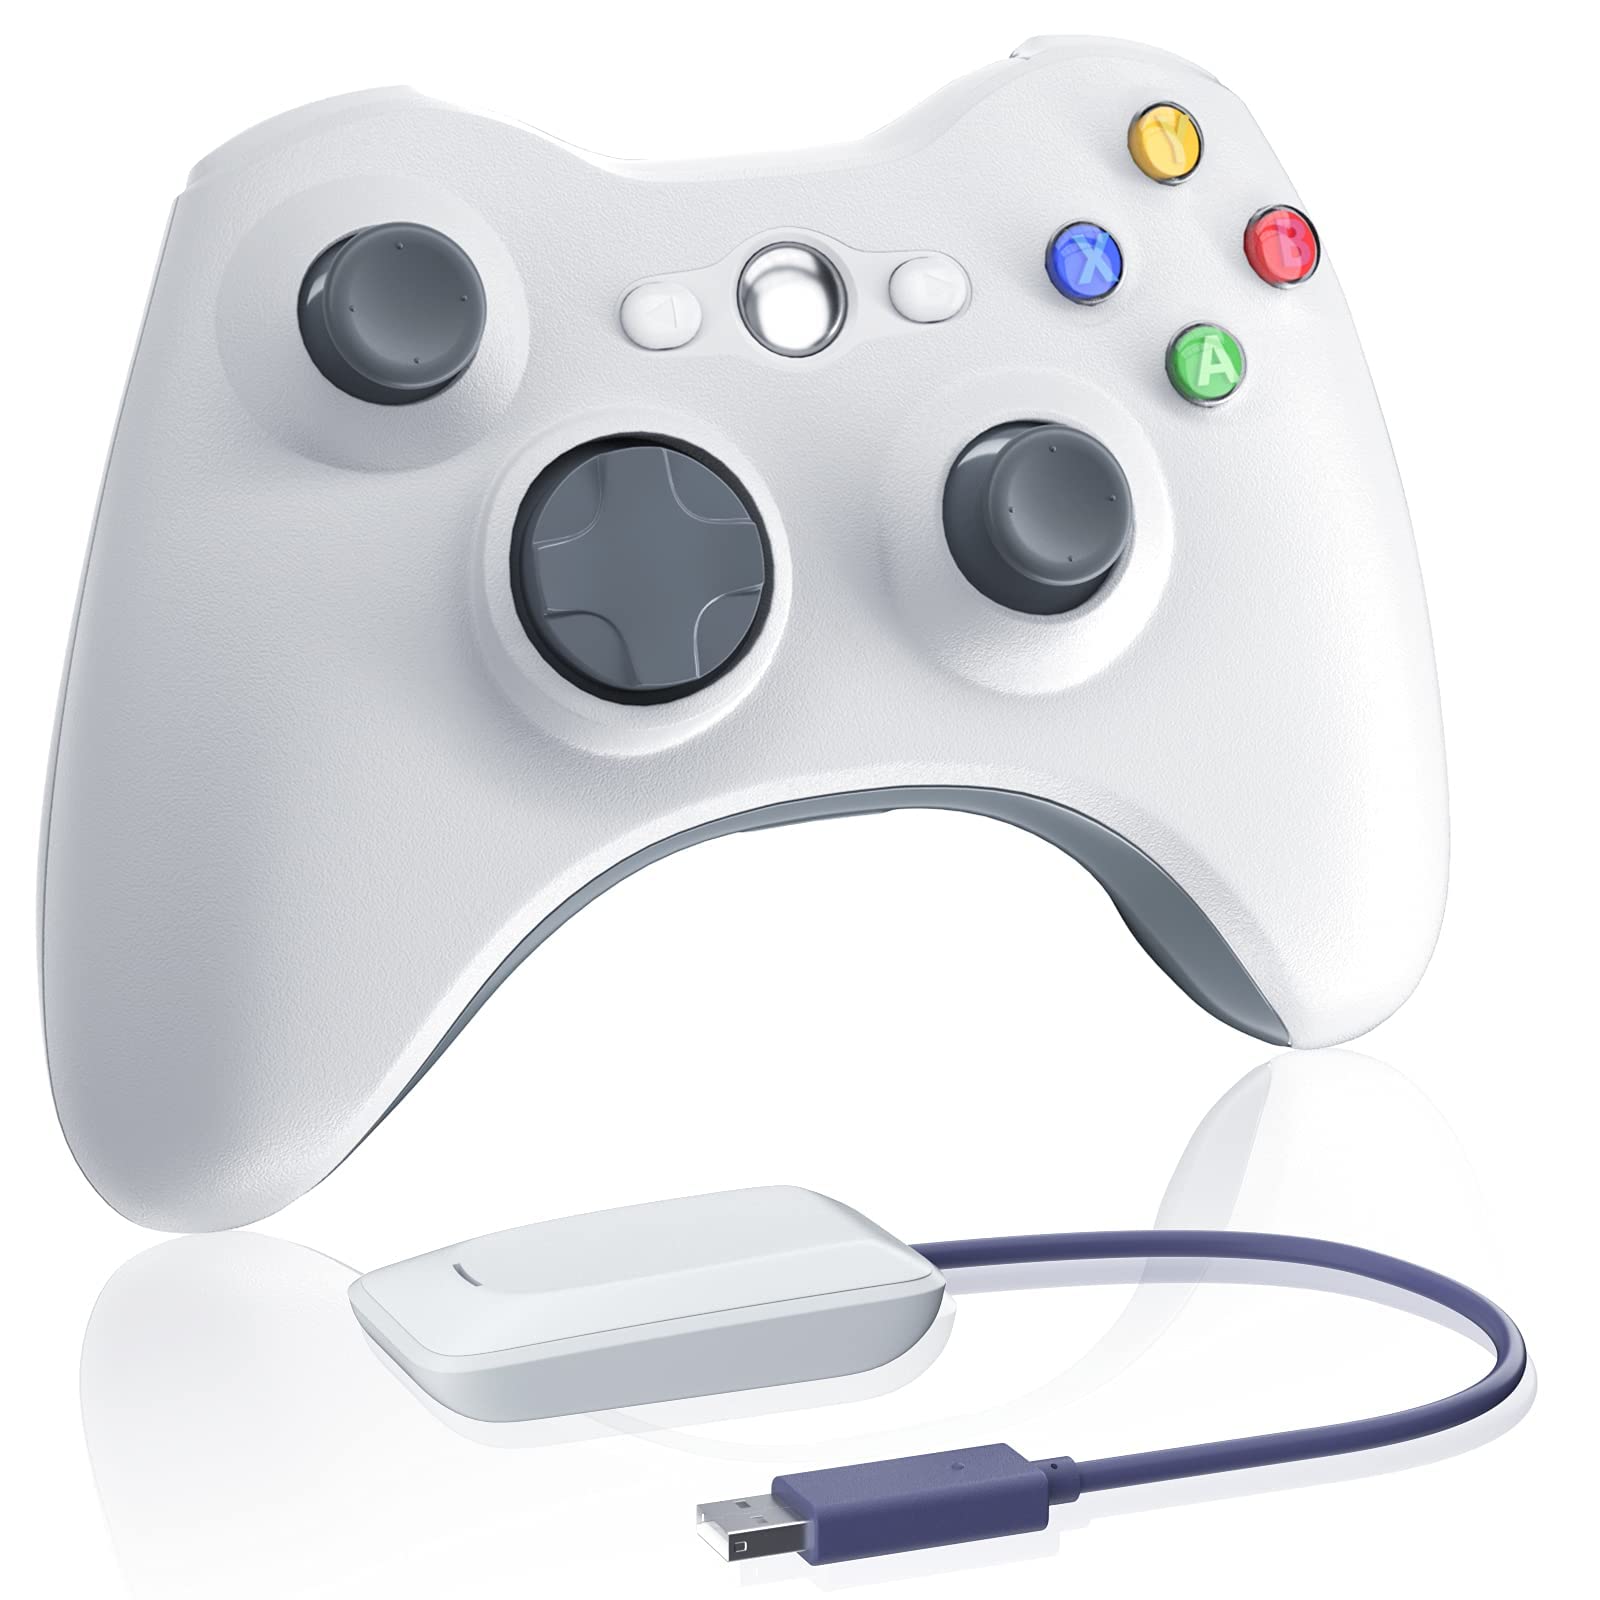
Your Wireless Gamepad: This is the star of the show! Ensure it’s a 2.4 GHz model, as this frequency band provides a reliable connection for most gaming devices.
-
Wireless Receiver: This tiny device acts as a bridge between your controller and the system you’re playing on. It typically plugs into a USB port on your PC, console, or TV streaming device.
-
Batteries: Most wireless gamepads are powered by AA or AAA batteries. Make sure they’re fresh and properly inserted for optimal performance.
-
Instruction Manual: While not always the most riveting read, the manual can be a valuable resource. It often contains specific pairing instructions unique to your controller model.
Power Up and Connect: The Setup Symphony
With your arsenal assembled, let’s dive into the setup process. Here’s a general roadmap, but remember to consult your manual for any specific steps:
-
Install Batteries: Pop in those fresh batteries, adhering to the positive and negative markings within the controller’s battery compartment.
-
Locate the Receiver Port: Identify the appropriate port on your device (PC, console, etc.) for the wireless receiver. Typically, it’ll be a USB port.
-
Plug in the Receiver: Gently insert the receiver into the designated port on your device. Your system might automatically detect the new hardware.
-
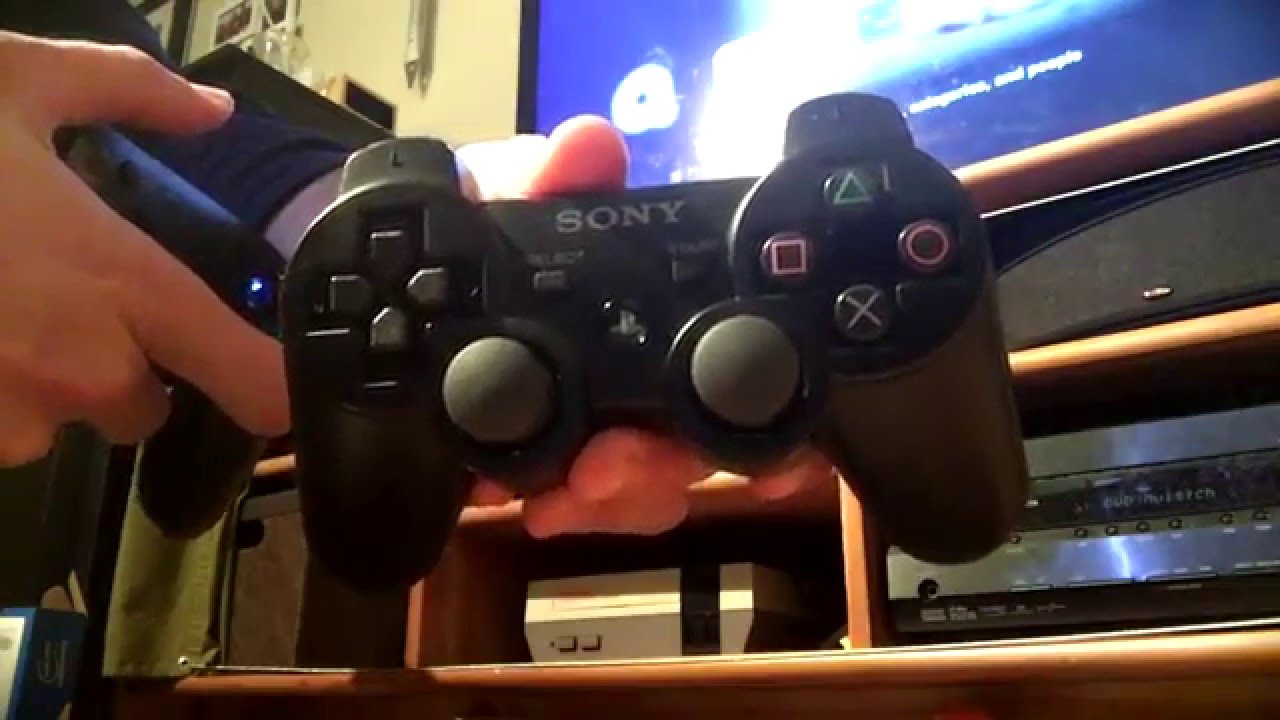
Power on the Controller: Locate the power button on your controller and switch it on. Some controllers might have a dedicated pairing button as well.
-
Initiate Pairing: This step can vary depending on your device and controller. Often, the receiver itself will have a pairing button you can press. Alternatively, your device’s settings menu might have a wireless controller pairing option. Consult your manual for precise instructions.
-
Confirmation and Connection: Once the pairing process is complete, your controller should establish a wireless connection with your device. You might see a confirmation message or light indicator on the controller or receiver.
Troubleshooting Tips: When the Connection Falters
Occasionally, you might encounter hiccups during the setup process. Here are some troubleshooting steps to consider:
-
Double-check Battery Placement: Ensure the batteries are properly inserted and haven’t run out of juice.
-
Verify Receiver Connection: Make sure the receiver is firmly plugged into your device’s USB port. Try a different USB port if available.
-
Reboot Your Device: Sometimes, a simple restart can resolve connection issues. Turn off your PC, console, or TV streaming device and power it back on.
-
Consult the Manual: Refer back to your controller’s manual for specific troubleshooting steps related to your model.
Beyond the Basics: Advanced Considerations
Now that you’ve conquered the basic setup, let’s explore some additional considerations for a seamless gaming experience:
-
Range and Interference: 2.4 GHz can be susceptible to interference from other wireless devices. If you experience lag or connection drops, try minimizing interference by keeping other wireless devices at a distance.
-
Firmware Updates: Some controllers might require occasional firmware updates to maintain optimal performance. Check your device manufacturer’s website for available updates.
-
Customization Options: Many wireless gamepads offer customization options, allowing you to adjust button mapping, sensitivity levels, and vibration settings. Explore your controller’s settings or a companion app to personalize your experience.
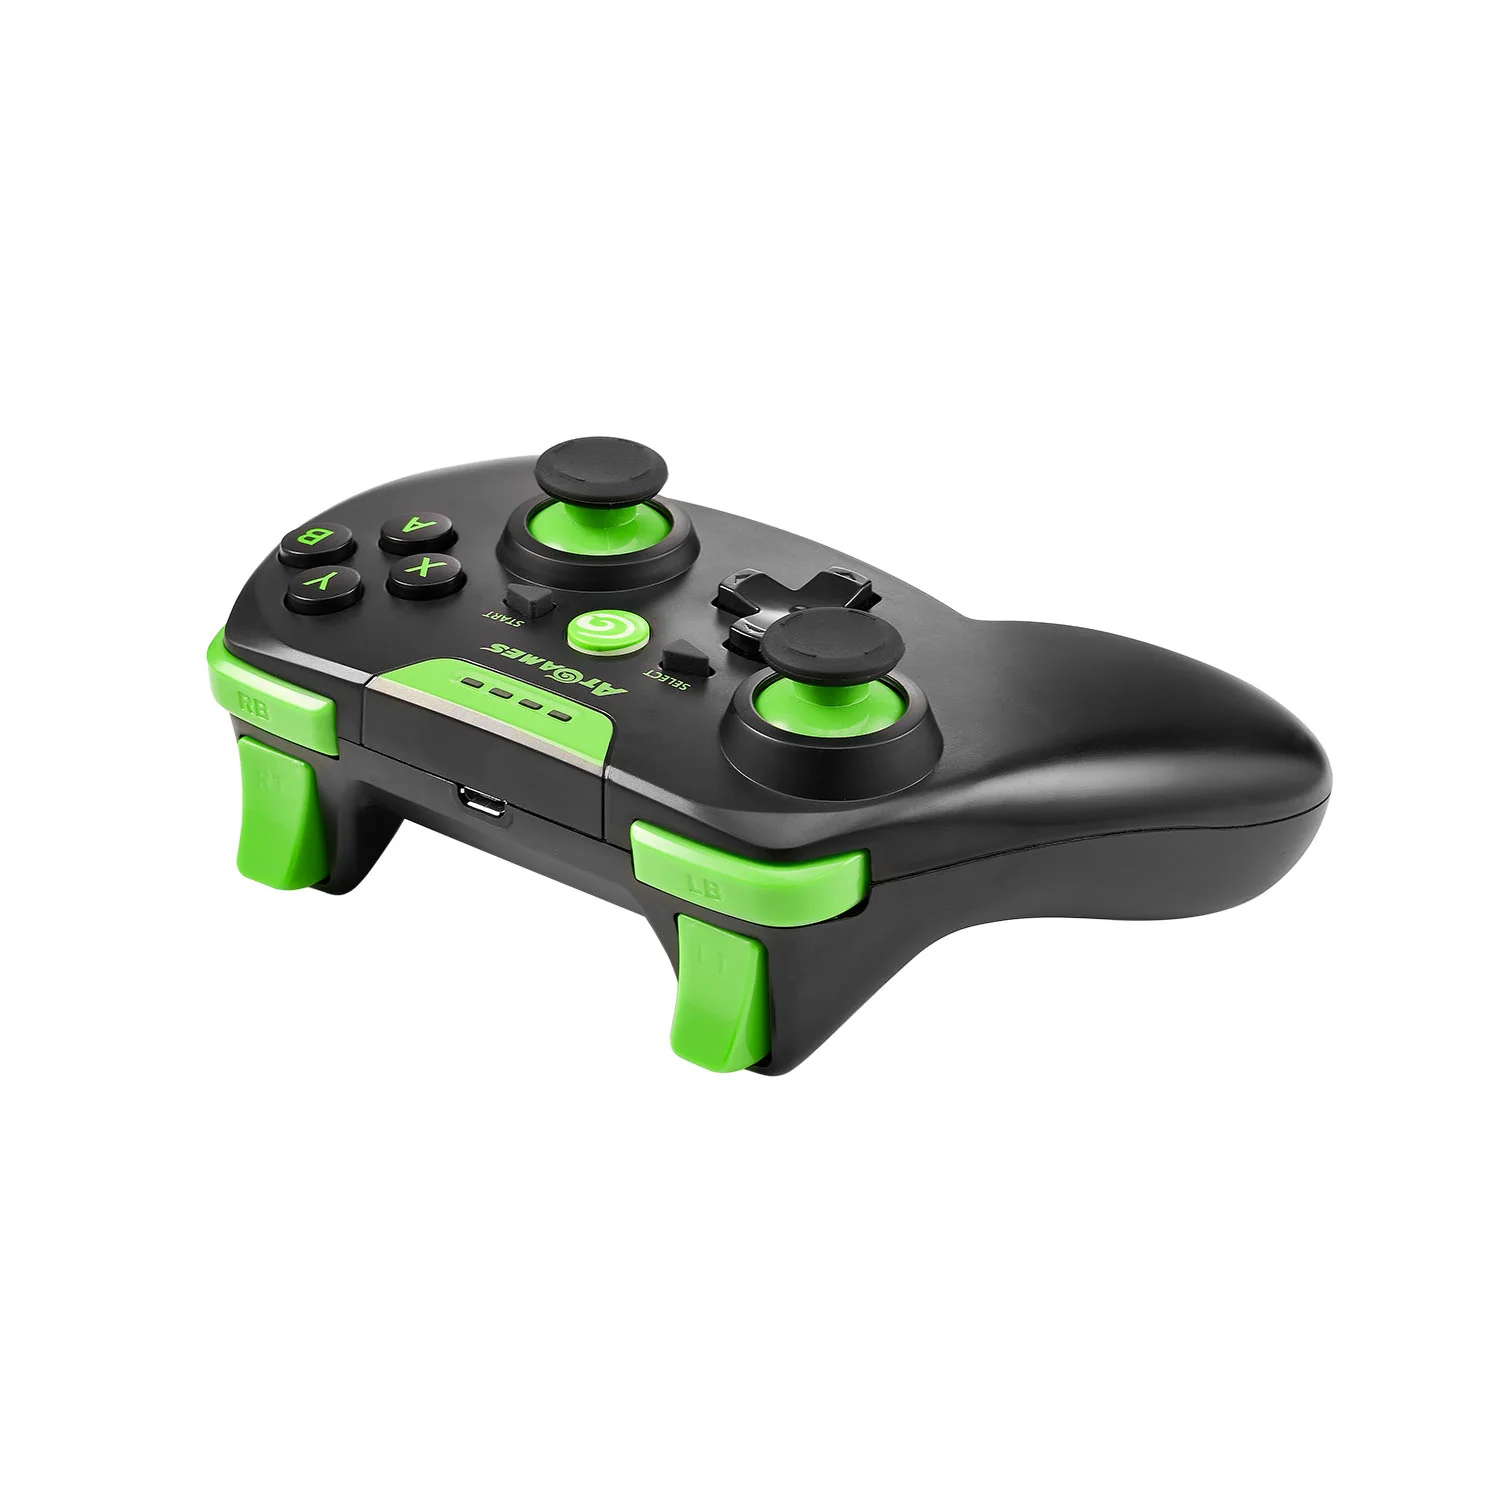
The beauty of modern gaming lies in its ability to cater to individual preferences. Your trusty 2.4 GHz wireless controller can be more than just a generic input device – it can be an extension of your gaming persona! This section delves into the world of button mapping and sensitivity adjustments, empowering you to personalize your controller for optimal performance.
Unlocking the Power of Button Mapping:
Ever wished the jump button was where the crouch button is? With button mapping, that wish can become reality! Many wireless controllers allow you to reassign functions to different buttons. This is particularly useful for games with complex control schemes or for players with specific accessibility needs.
The How-To:
The process for button mapping can vary depending on your controller model and device. Here’s a general approach:
-
Consult Your Manual: Your controller’s manual will likely contain specific instructions on accessing the button mapping settings.
-
Explore Device Settings: Often, your device itself (PC, console, etc.) might have built-in options for controller customization. Look for menus related to controllers or accessibility settings.
-
Third-Party Apps: Some manufacturers offer dedicated apps for their controllers, allowing you to configure button mapping directly from your smartphone or PC.
Fine-Tuning Sensitivity Levels:
Precision is key in many games. Thankfully, many wireless controllers allow you to adjust the sensitivity of the joysticks and triggers. This lets you tailor the controller’s response to your specific playing style.
-
Stick Sensitivity: Higher sensitivity translates to smaller movements on the joystick resulting in larger in-game movements. Conversely, lower sensitivity requires more pronounced movements on the joystick for the same in-game effect. Experiment to find the sweet spot between twitchy responsiveness and smooth control.
-
Trigger Sensitivity: Adjusting trigger sensitivity can be particularly beneficial in racing games or shooters. A more sensitive trigger might lead to quicker firing or braking, while a less sensitive trigger can provide more control for precise actions.
Reaping the Rewards:
By customizing button mapping and sensitivity levels, you can transform your 2.4 GHz wireless controller into a tool perfectly suited to your gaming preferences. Whether you’re a seasoned pro or a curious newcomer, this level of personalization can significantly enhance your gaming experience. So, delve into the customization options, experiment, and discover the controller configuration that unlocks your ultimate gaming potential!
Ensuring a strong and stable connection
You’ve conquered the setup process and are ready to dive into wireless gaming bliss. But wait! A strong and stable connection is crucial for a flawless experience. Here are some additional tips to ensure your 2.4 GHz wireless controller delivers uninterrupted fun:
- Minimize Interference: The 2.4 GHz frequency band is a bustling marketplace for wireless signals. Other devices like cordless phones, Bluetooth speakers, and even microwaves can disrupt your controller’s connection. Try turning off these devices or moving your controller and receiver further away from them.
- Maintain a Clear Line of Sight: Walls, furniture, and even your own body can weaken the wireless signal. Ideally, position your controller and receiver within a clear line of sight for optimal performance. Experiment with different placements to find the sweet spot.
- Keep it Close: While wireless controllers offer freedom, venturing too far from the receiver can lead to connection drops. Stay within a reasonable distance, especially in environments with potential interference.
- Upgrade Your Batteries: Don’t let dying batteries disrupt your game. Invest in rechargeable batteries or keep fresh AA or AAA batteries on hand to avoid mid-session connection woes.
- Consider a USB Cable: For situations demanding absolute connection stability, some wireless controllers offer the option to connect directly to your device via a USB cable. This bypasses the wireless connection altogether, ensuring a rock-solid link.
- Explore Advanced Options: Depending on your controller model and device, you might have access to advanced wireless settings. Some allow you to adjust the signal strength or prioritize connection quality over response time. Consult your manual or explore your device’s settings menu for these options.
By following these tips, you can transform your 2.4 GHz wireless controller into a reliable weapon for conquering any virtual battlefield. So, fine-tune your setup, eliminate interference, and get ready to experience the true joy of lag-free wireless gaming!
Embrace the Wireless Freedom: The Final Notes
With a successfully set up 2.4 GHz wireless controller, you’re ready to conquer virtual worlds untethered by wires. Remember, practice makes perfect. The more you use your wireless controller, the more comfortable you’ll become with its layout and functionality. So, grab your gamepad, unleash your inner champion, and prepare to be amazed by the freedom of wireless gaming!