Enjoying your favorite mobile content on the big screen is a delightful experience. Traditionally, Chromecast has been the go-to device for mirroring your Android screen to your TV. However, not everyone owns a Chromecast. Fortunately, there are several effective methods to cast your Android screen to your TV without relying on this device. This article will explore these alternatives, providing clear guidance and troubleshooting tips.
Understanding Screen Mirroring
Before diving into the methods, it’s essential to grasp the concept of screen mirroring. Essentially, it’s a technology that displays your smartphone’s screen content on a larger screen, such as a TV. While it offers a convenient way to share content, it’s important to note that screen mirroring often consumes more battery power and might introduce latency compared to dedicated casting apps.
Built-in Screen Mirroring
Many modern Android devices and smart TVs come equipped with built-in screen mirroring capabilities. This feature, often referred to as “Smart View,” “Screen Casting,” or similar names, allows you to directly connect your phone to your TV without additional hardware.
To use this method:
- Ensure both devices are connected to the same Wi-Fi network.
- Activate screen mirroring on your Android device: This usually involves swiping down from the notification bar to access quick settings and tapping the screen mirroring icon.
- Select your TV from the available devices list: Your TV should appear as a discoverable device.
- Accept the connection request on your TV: Once selected, your TV might prompt you to confirm the connection.
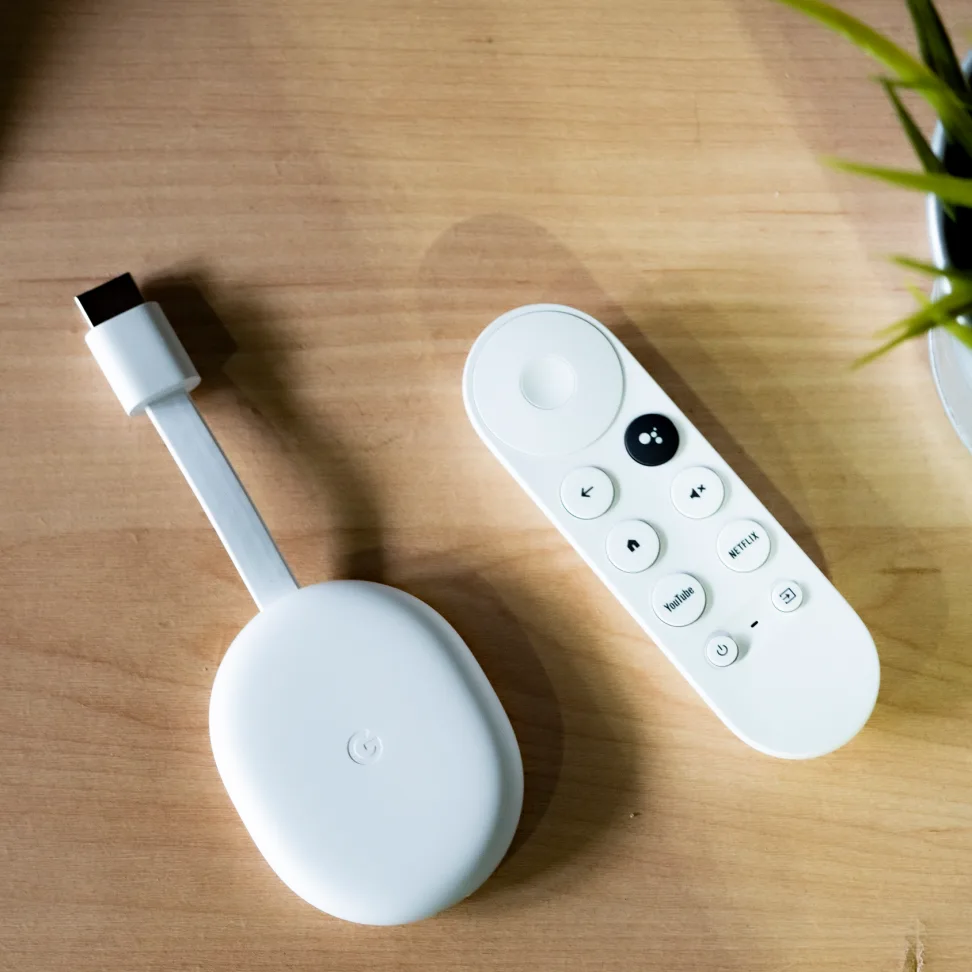
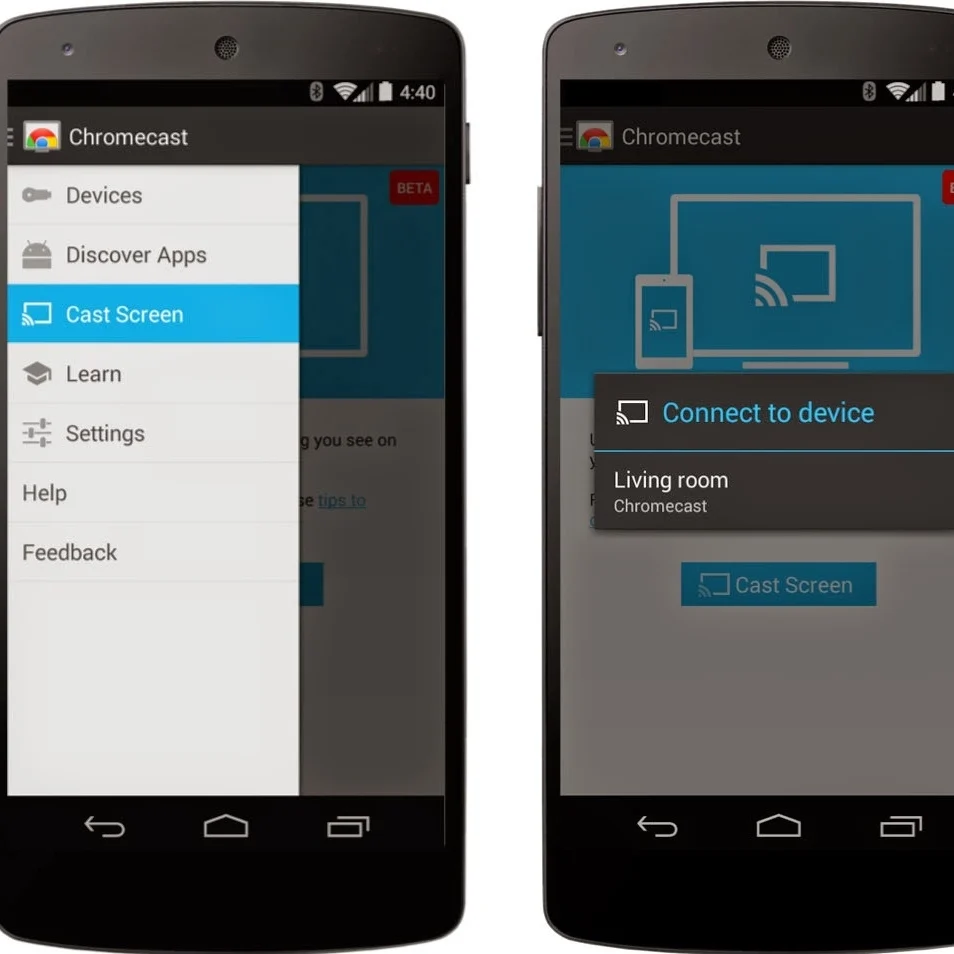
Google Home App
The Google Home app is primarily designed for controlling smart home devices, but it also doubles as a screen mirroring tool. If your TV supports screen mirroring, you can use the Google Home app to establish a connection.
Here’s how:
- Ensure your TV and Android device are on the same Wi-Fi network.
- Open the Google Home app on your phone.
- Discover your TV: The app will scan for compatible devices.
- Select your TV and choose the “Cast screen” option.
Smart TV Apps
Some smart TVs have built-in apps or features that support screen mirroring. For instance, Samsung TVs often come with the Smart View app, while other brands might offer similar functionalities. Check your TV’s user manual for specific instructions.
Third-Party Apps
If the built-in options don’t meet your needs, consider exploring third-party apps. Several apps specialize in screen mirroring and offer additional features like video streaming and file sharing. However, it’s essential to choose reputable apps to protect your privacy and device security.
When using third-party apps:
- Research and select a reliable app.
- Follow the app’s instructions for setup and connection.
- Be aware of potential in-app purchases or advertisements.
Troubleshooting Tips
If you encounter issues while casting your Android screen to your TV, try the following troubleshooting steps:
- Check Wi-Fi connection: Ensure both devices are connected to the same Wi-Fi network and have a strong signal.
- Restart devices: Sometimes, restarting your phone and TV can resolve temporary glitches.
- Update software: Keep your Android device and TV’s software up-to-date.
- Check compatibility: Verify that your Android device and TV support screen mirroring.
- Try a different method: If one method doesn’t work, explore the other options.
Additional Considerations
- Battery life: Screen mirroring can drain your phone’s battery quickly. Consider using a power bank or connecting your phone to a charger.
- Latency: There might be a slight delay between your phone’s screen and the TV. This can affect video playback and gaming experiences.
- Content protection: Some apps or content might have restrictions on screen mirroring due to copyright protection.
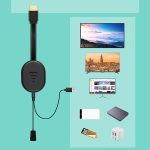
Using an HDMI cable
HDMI (High-Definition Multimedia Interface) cables are the standard for connecting devices that can output high-definition video and audio to displays like TVs, monitors, and projectors. They offer a single cable solution for both video and audio, making them convenient and efficient.
How to Use an HDMI Cable
- Identify HDMI Ports: Locate the HDMI ports on both your source device (like a laptop, gaming console, or Blu-ray player) and your display. HDMI ports are typically rectangular with a small notch to prevent incorrect insertion.
- Connect the Cable: Plug one end of the HDMI cable into the HDMI port on your source device and the other end into the HDMI port on your display.
- Select the Correct Input: On your display, use the remote control to select the HDMI input that corresponds to the port you used. This is usually labeled as HDMI 1, HDMI 2, etc.
Common Uses for HDMI Cables
- Connecting Gaming Consoles: HDMI cables provide the best possible picture and sound quality for gaming consoles like PlayStation, Xbox, and Nintendo Switch.
- Connecting Blu-ray or DVD Players: Enjoy high-definition movies with the best audio and video quality by connecting your Blu-ray or DVD player to your TV using an HDMI cable.
- Connecting Laptops and Computers: Many laptops and computers have HDMI ports, allowing you to connect them to a larger display for presentations, gaming, or movie watching.
- Connecting Cable or Satellite Boxes: Get the most out of your cable or satellite service by connecting it to your TV with an HDMI cable.
HDMI Cable Types and Considerations
- Standard HDMI: This is the most common type of HDMI cable and is suitable for most devices.
- HDMI High-Speed: Supports higher resolutions and refresh rates, ideal for gaming and 4K content.
- HDMI Ethernet Channel (HEC): Allows for Ethernet connectivity over the HDMI cable.
- HDMI with Audio Return Channel (ARC): Enables audio to be sent from the TV back to an audio receiver through the HDMI cable.
Step-by-step guide on how to connect an Android
While this method is straightforward, it’s important to know that not all Android devices support direct HDMI output. Many newer models require adapters or specific configurations.
What You’ll Need:
- An HDMI cable
- An HDMI adapter (if your device doesn’t have a direct HDMI port)
- A power source for the adapter (if required)
Steps:
-
Check Your Device:
- Determine if your Android device has a direct HDMI port. Most smartphones don’t, but some tablets might.
- If your device lacks a direct HDMI port, you’ll need an appropriate adapter. Common types include:
- Micro USB to HDMI adapter: For older Android devices.
- USB-C to HDMI adapter: For newer devices.
-
Prepare the Adapter (if needed):
- If you’re using an adapter, ensure it’s compatible with your device.
- Some adapters require an external power source. If so, connect the adapter to the power source.
-
Connect the HDMI Cable:
- Plug one end of the HDMI cable into the HDMI port on your TV.
- Plug the other end into the HDMI port on your Android device or the HDMI adapter.
-
Connect the Adapter to Your Device (if needed):
- If you’re using an adapter, connect the USB or USB-C end of the adapter to your Android device.
-
Select the HDMI Input on Your TV:
- Use your TV’s remote control to switch the input source to the HDMI port you connected the cable to. This is usually labeled as HDMI 1, HDMI 2, etc.
-
Enable Screen Mirroring (if necessary):
- Some devices might require you to enable screen mirroring or a similar feature before the display appears on the TV. Check your device’s settings for this option.
Casting your Android screen to your TV without Chromecast is entirely possible. By understanding the different methods and troubleshooting common issues, you can enjoy a seamless big-screen experience. Whether you prefer the simplicity of built-in features or the versatility of third-party apps, there’s a solution to suit your needs.